Reading exposure as a map
False color
False color throws away the picture and shows you the exposure instead. Every pixel is measured for brightness, and the ones that land in a range worth knowing about are painted a flat color. Everything else is left as plain gray — which is most of the frame, and is the point. The colors are the parts you need to look at.
The bands read against the exposure you dialed, not the one your phone picked. This is the part that surprises people. If you lock the shutter at 1/48 and the iris at f/4, false color shows you what those settings would capture — not what the camera app would have done on its own. Leave the dials free and they track the meter, so the two views agree. Lock something, and false color starts answering a more useful question: at my settings, where does this scene actually fall?
In practice: point it at a gray card and dial until the card goes green. Check that faces land in or near pink. Then watch for red, which is the only band that means you have already lost something — close the iris, add ND, or narrow the shutter angle until it goes away.
↑ TopMetering one thing, not the average
Spot metering
By default the meter reads the whole frame and averages it, which is the right answer when the light is even and the wrong answer the moment it is not. A backlit face against a bright sky averages into an exposure that is correct for neither.
Tap anywhere in the viewfinder and the meter reads that point instead. A reticle marks where you tapped, the readout switches to that reading, and a SPOT button appears next to the EV. Tap the button to go back to averaging the whole frame.
Spot is a reading, not a crop. The exposure you get is the one that would place that point correctly. Everything else in the frame falls where it falls — which is exactly what false color is for.
Degrees instead of fractions
Shutter angle and frame rate
Film cameras expose through a rotating disc with a wedge cut out of it. How wide that wedge is — the shutter angle — decides how long each frame is lit. It is a ratio, not a time, so the same angle gives a different exposure at every frame rate.
Switch to Cine mode and the shutter dial stops showing fractions and starts showing degrees, with the equivalent time underneath. The classic setting is 180°, which is a half-open disc: at 24 fps that is 1/48 of a second.
The odd numbers are there on purpose. 172.8° is the angle that gives exactly 1/50 at 24 fps, which is how you kill flicker under 50 Hz light. 135° and 165° are detents on classic spring-wound 16mm cameras, and 8, 12, 16, 32 and 64 fps are their governor speeds — so a reading taken here transfers straight to the camera in your hand.
↑ TopTwo names for the same glass
ND filters
Neutral density cuts light without changing its color, which is how you keep a 180° shutter and a wide iris in daylight instead of stopping down and losing the depth of field you wanted.
The confusion is that the trade labels the same filter two different ways. Cinema uses optical density — ND 0.3, ND 0.6, ND 0.9 — which goes up 0.3 per stop. Photography uses the filter factor — ND2, ND4, ND8 — which says how far the light is cut: to a half, a quarter, an eighth. Same glass, same stops, different dialect.
The app picks the dialect from the mode you are in, so you read the label your camera department uses. Dial in the filter you actually have on the lens and the meter works around it.
↑ TopWet plate, paper negatives, and other slow emulsions
Ultra-low ISO
The ISO dial normally stops at 25, because that is roughly where film speeds stop. Alternative process starts below it. Wet plate collodion runs somewhere around ISO 0.5 to 3 depending on your chemistry, paper negatives sit between 3 and 12, and ortho and lith films land in the same neighborhood. A meter that bottoms out at 25 is several stops short of any use to you.
Turn on Settings → Film Speed → Ultra low ISO and the dial keeps going below 25, down to 0.5, in the same third stops as the rest of the ladder. Seventeen extra steps — a little under six stops below the standard floor.
Your phone cannot actually be ISO 1, and the app does not pretend otherwise. Hold a reading down there and the sensor is driven as slow as it goes, then the rest is applied to the preview — the n stops simulated chip tells you how much. The exposure number is correct and it is what you should set on the camera. It is the picture that is partly computed. See Manual hold.
Collodion sees blue and ultraviolet. Your phone sees everything. A reflected reading weights the whole visible spectrum, so a scene full of red and green — skin, foliage, warm late light — reads brighter to the meter than it will record on the plate. No meter can tell you what your collodion, your developer and your lens do with that. The offset between the reading and the plate is yours to find by testing. What a meter is good for here is consistency: the same light gives you the same number every time, so once you know your offset, it stays true.
Daylight plate work is faster than the process’s reputation. The long exposures collodion is famous for came out of studios, not out of the sun. Worked at ISO 1, open air is fractions of a second:
Shutter at ISO 1 — f/4 · f/8 · f/16
So the shutter dial’s 30-second ceiling is not what limits you outdoors — it is the studio and the dim interior that run past it. When they do, meter at a higher ISO and scale the result: every stop you drop the ISO doubles the time. Reciprocity failure is yours to add on top of that, since no meter knows where your emulsion stops responding linearly.
↑ TopDistance to what you metered
Rangefinder
On iPhone Pro models there is a LiDAR scanner behind the camera, and PocketMeter Pro uses it to measure how far away your metering point is. The distance appears as a badge in the readout, in feet and inches or meters.
It is there for pulling focus and for depth-of-field math — the two things a meter reading alone cannot tell you. Because it measures the point you metered, moving the spot moves the measurement with it.
It only appears on hardware that has it. Non-Pro iPhones have no LiDAR scanner, so the badge does not show at all rather than showing a guess. Range runs out somewhere around 16 feet; past that the badge reads an em dash rather than inventing a number.
Freezing a reading, and seeing it
Manual hold
HOLD freezes the exposure you have dialed and drives the camera to it. The viewfinder stops being a preview of what the phone would do and becomes a preview of what your settings would do — brighter, darker, whatever you asked for.
While it is held, the readout shows how far the live scene has drifted from your held exposure: over, under, or matched. Each state carries its own symbol and word as well as its color, so the reading survives being seen in sunlight or by someone who does not separate red from green.
When the sensor runs out of room, the app says so. Going brighter has plenty of headroom, but going darker hits minimum ISO at the fastest shutter. Past that point the picture still reaches the tone you dialed — the remainder is applied to the preview rather than captured — and a chip appears reading n stops simulated. The number is correct either way; the chip tells you how much of the image is computed.
What gets written into the frame
Log & geotag
LOG saves the current frame to your photo library with the reading burned into it, so the exposure and the shot it belongs to cannot be separated later.
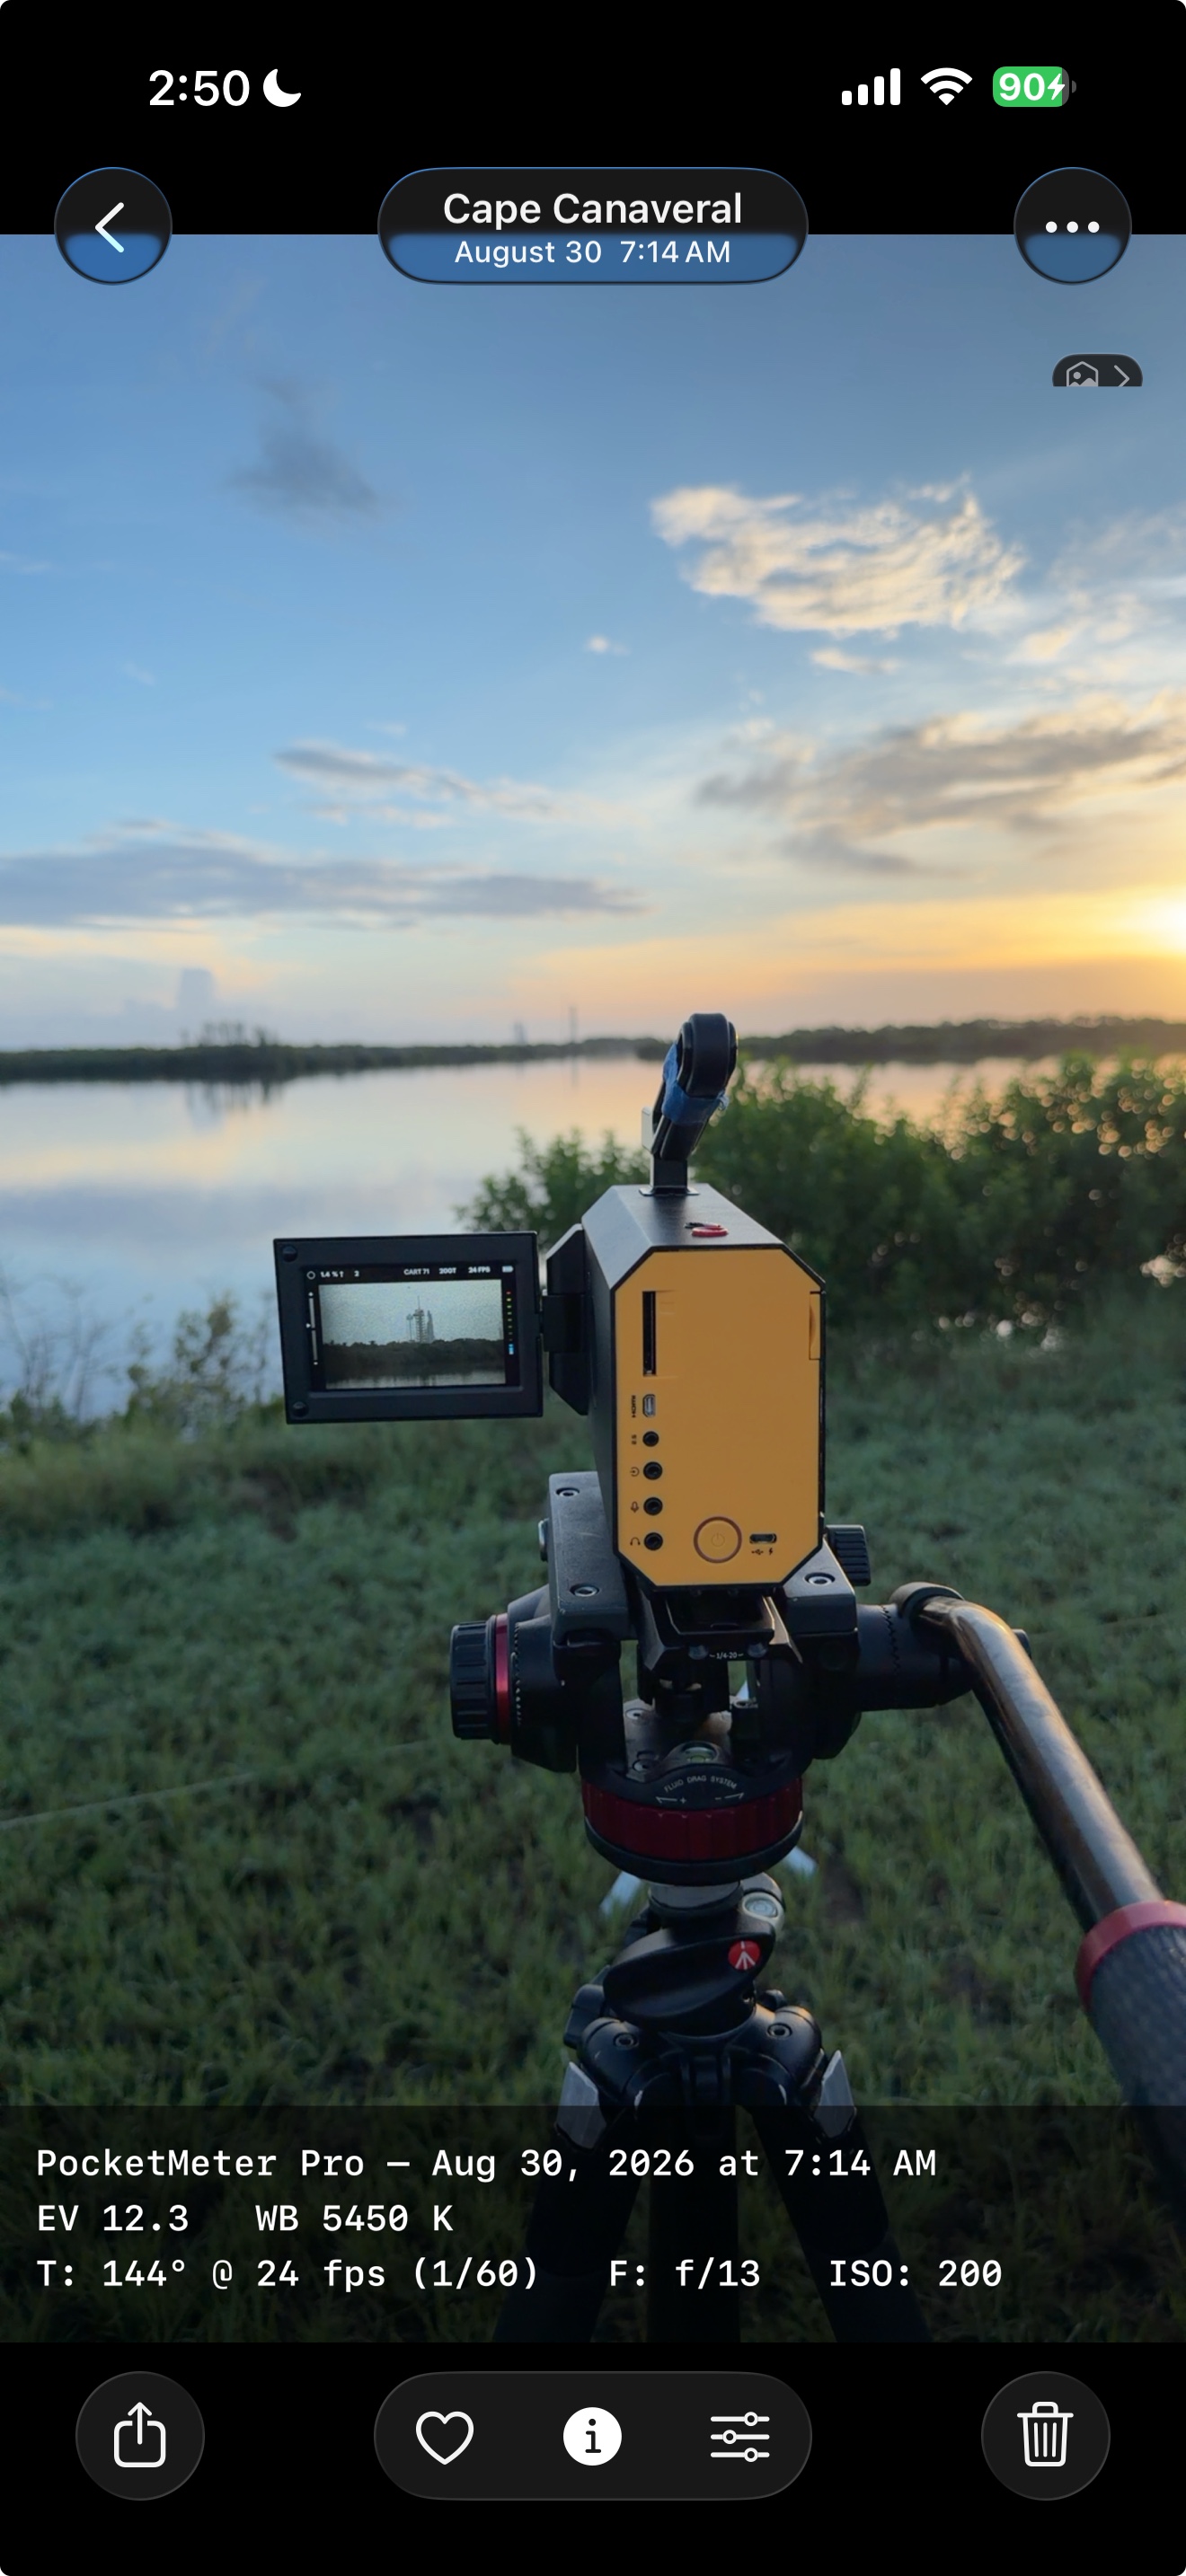
Three lines are stamped onto the image:
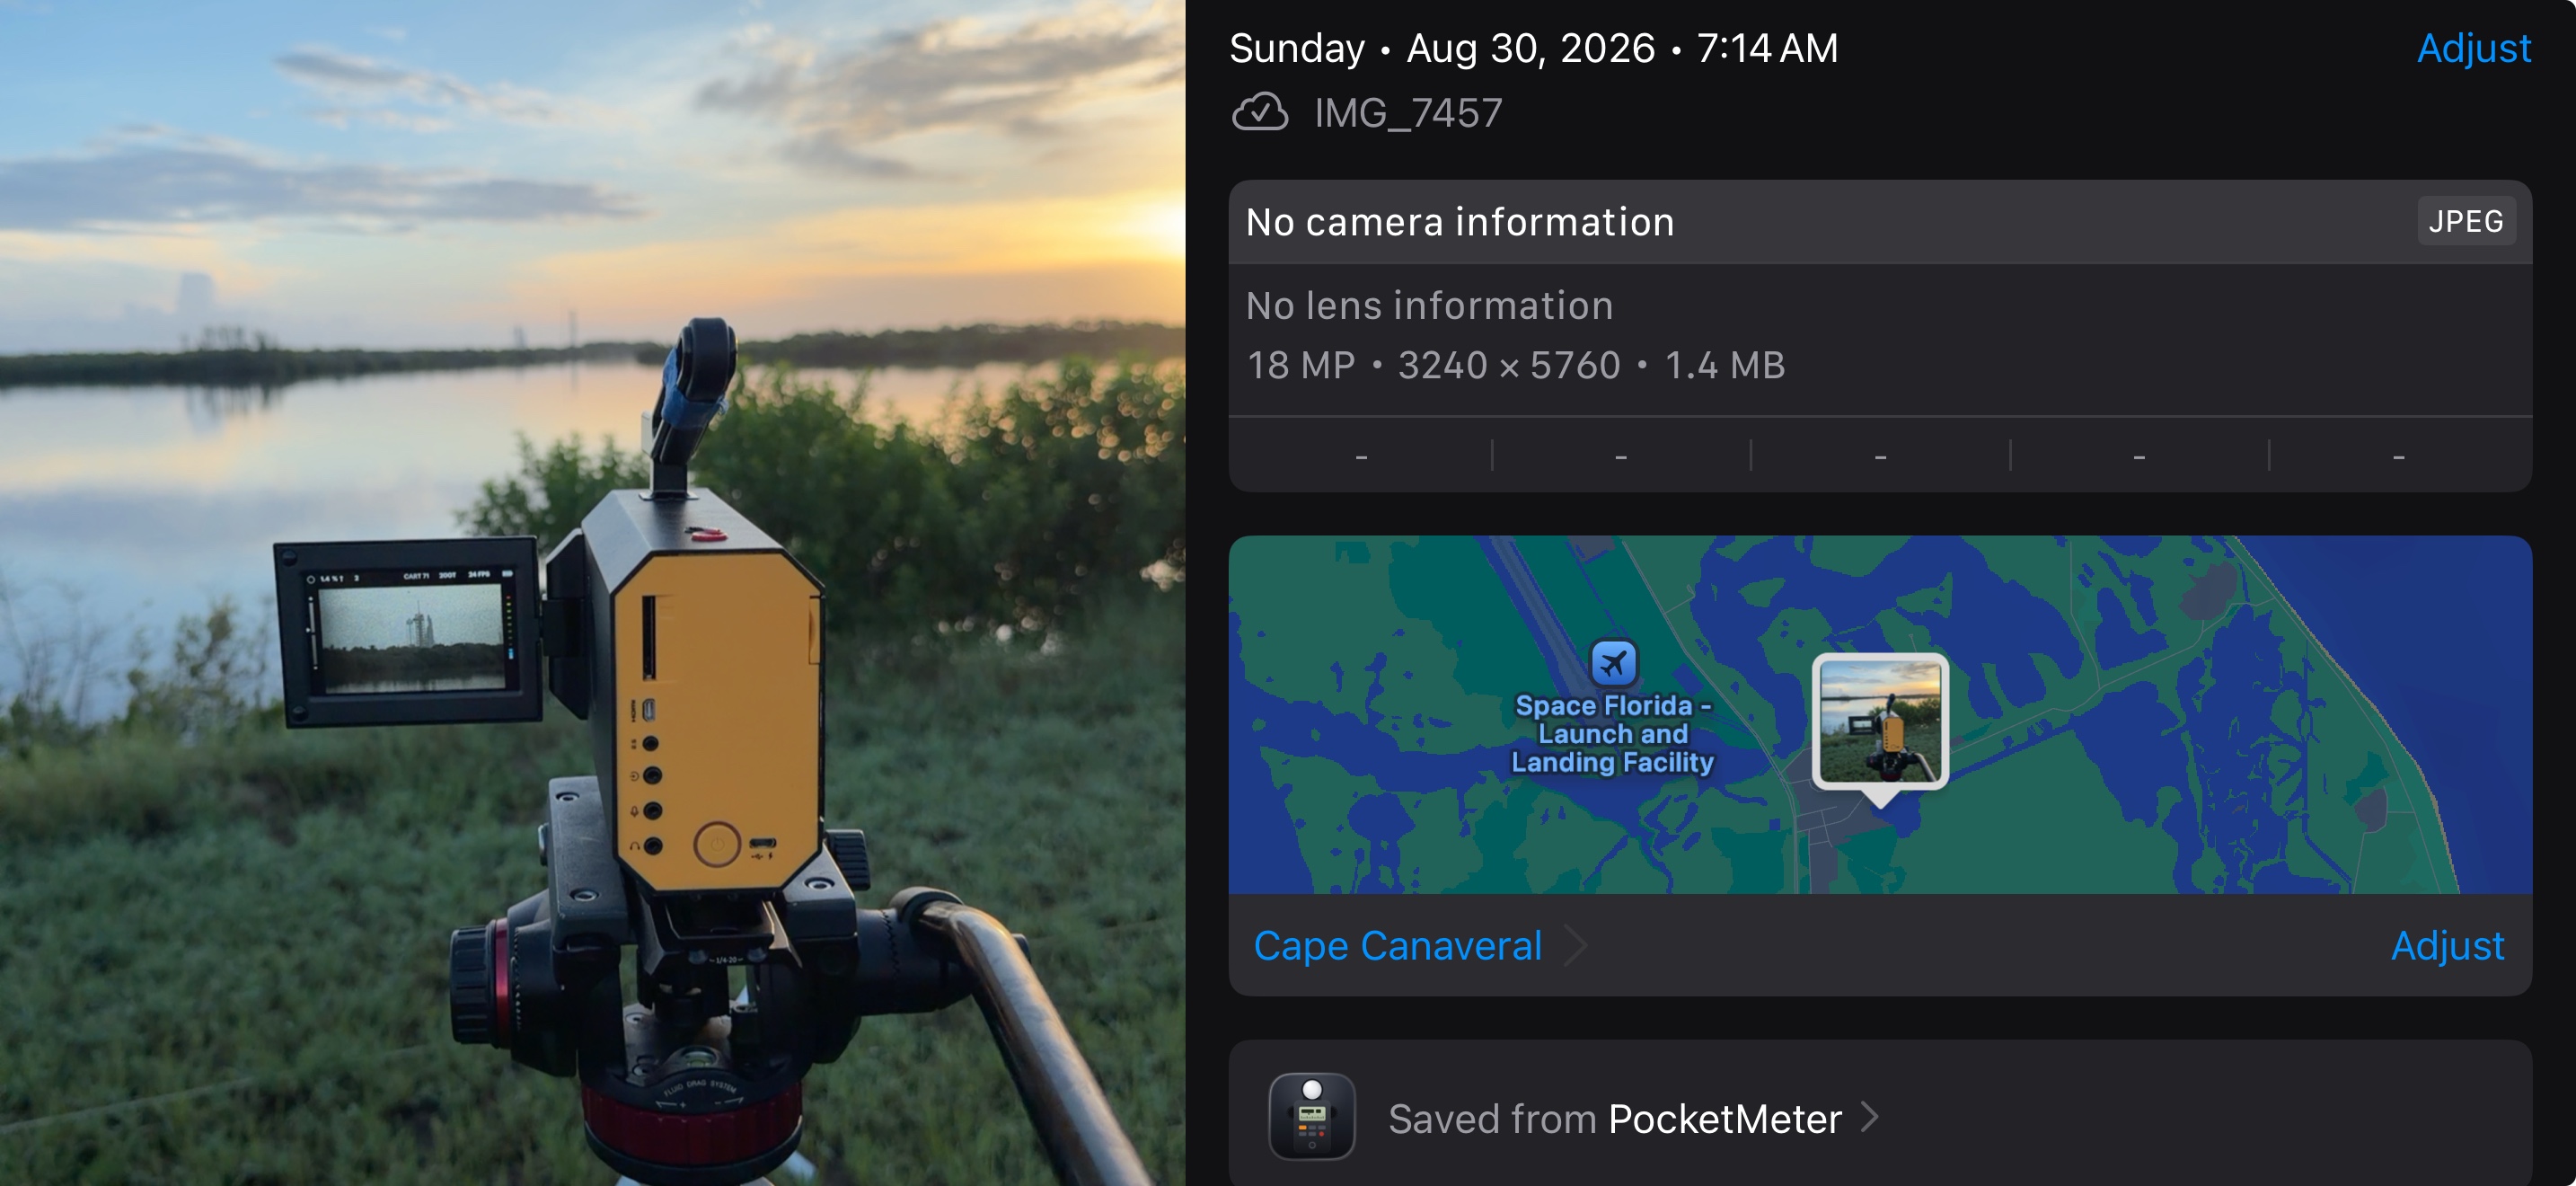
If location is allowed, the app attaches the coordinates to the saved photo, so Photos names the place and plots it — a scout reads back as a map without you labelling anything. That happens on the device and stays there: the app has no servers and uploads nothing.